> ## Documentation Index
> Fetch the complete documentation index at: https://docs.anchorage.com/llms.txt
> Use this file to discover all available pages before exploring further.

# Mobile app

> Download and set up the Anchorage Digital iOS app.

export const ImageCarousel = ({images, perView = 3, children}) => {
  const [page, setPage] = useState(0);
  const [imgH, setImgH] = useState(0);
  const stripRef = useRef(null);
  const THUMB_MAX_WIDTH = 220;
  const PEEK_WIDTH = 34;
  useEffect(() => {
    const strip = stripRef.current;
    if (!strip) return;
    const measure = () => {
      const box = strip.querySelector("[data-carousel-imgbox]");
      if (box && box.clientHeight) setImgH(box.clientHeight);
    };
    measure();
    const ro = new ResizeObserver(measure);
    ro.observe(strip);
    return () => ro.disconnect();
  }, []);
  const fromChildren = React.Children.toArray(children).map(c => c && c.props && c.props.src ? {
    src: c.props.src,
    alt: c.props.alt
  } : null).filter(Boolean);
  const items = fromChildren.length ? fromChildren : images || [];
  if (!items.length) return null;
  const count = items.length;
  const columns = Math.min(perView, count);
  const totalPages = Math.ceil(count / columns);
  const showControls = totalPages > 1;
  const goTo = p => setPage((p % totalPages + totalPages) % totalPages);
  const prev = () => goTo(page - 1);
  const next = () => goTo(page + 1);
  const start = page * columns;
  const visible = items.slice(start, start + columns);
  const prevPeek = start > 0 ? items[start - 1] : null;
  const nextPeek = start + columns < count ? items[start + columns] : null;
  const renderPeek = (img, side) => {
    if (!img) return null;
    const isLeft = side === "left";
    return <button type="button" onClick={isLeft ? prev : next} aria-hidden="true" tabIndex={-1} style={{
      flex: `0 0 ${PEEK_WIDTH}px`,
      width: PEEK_WIDTH + "px",
      alignSelf: imgH ? "flex-start" : "stretch",
      height: imgH ? imgH + "px" : undefined,
      border: 0,
      padding: 0,
      cursor: "pointer",
      opacity: 0.5,
      borderRadius: isLeft ? "10px 0 0 10px" : "0 10px 10px 0",
      backgroundImage: `url("${img.src}")`,
      backgroundRepeat: "no-repeat",
      backgroundSize: "auto 100%",
      backgroundPosition: isLeft ? "right center" : "left center",
      WebkitMaskImage: `linear-gradient(to ${isLeft ? "left" : "right"}, #000 15%, transparent 100%)`,
      maskImage: `linear-gradient(to ${isLeft ? "left" : "right"}, #000 15%, transparent 100%)`
    }} />;
  };
  const arrowStyle = {
    flex: "0 0 auto",
    width: "30px",
    height: "30px",
    borderRadius: "50%",
    border: "1px solid var(--ad-border, #e4e5e7)",
    background: "var(--background, #fff)",
    fontSize: "16px",
    lineHeight: "28px",
    textAlign: "center",
    cursor: "pointer",
    padding: 0
  };
  return <div style={{
    outline: "none",
    margin: "1.5rem 0"
  }} role={showControls ? "group" : undefined} aria-label={showControls ? "Screenshot carousel" : undefined} aria-roledescription={showControls ? "carousel" : undefined}>
      <div style={{
    display: "flex",
    alignItems: "center",
    gap: "10px"
  }}>
        {showControls && <button type="button" onClick={prev} aria-label="Previous screenshots" style={arrowStyle}>
            ‹
          </button>}

        <div ref={stripRef} style={{
    display: "flex",
    flexWrap: "nowrap",
    alignItems: "flex-start",
    gap: "14px",
    justifyContent: "center",
    flex: 1
  }}>
          {renderPeek(prevPeek, "left")}
          {}
          {Array.from({
    length: columns
  }).map((_, i) => {
    const img = visible[i];
    const slotStyle = {
      margin: 0,
      flex: "1 1 0",
      maxWidth: THUMB_MAX_WIDTH + "px",
      minWidth: 0
    };
    if (!img) {
      return <div key={start + i} aria-hidden="true" style={{
        ...slotStyle,
        visibility: "hidden"
      }} />;
    }
    return <div key={start + i} style={slotStyle}>
                <span data-carousel-imgbox style={{
      display: "block"
    }}>
                  <img src={img.src} alt={img.alt ?? ""} style={{
      display: "block",
      width: "100%",
      height: "auto",
      margin: 0,
      borderRadius: "10px",
      border: "1px solid var(--ad-border, #e4e5e7)"
    }} />
                </span>
                {img.alt && <div style={{
      marginTop: "6px",
      fontSize: "12px",
      lineHeight: 1.4,
      color: "var(--ad-muted, #6b7280)",
      textAlign: "center"
    }}>
                    {img.alt}
                  </div>}
              </div>;
  })}
          {renderPeek(nextPeek, "right")}
        </div>

        {showControls && <button type="button" onClick={next} aria-label="Next screenshots" style={arrowStyle}>
            ›
          </button>}
      </div>

      {showControls && <div style={{
    textAlign: "center",
    marginTop: "8px",
    fontSize: "12px",
    color: "var(--ad-muted, #6b7280)"
  }}>
          {start + 1}
          {visible.length > 1 ? "–" + (start + visible.length) : ""} of {count}
        </div>}
    </div>;
};

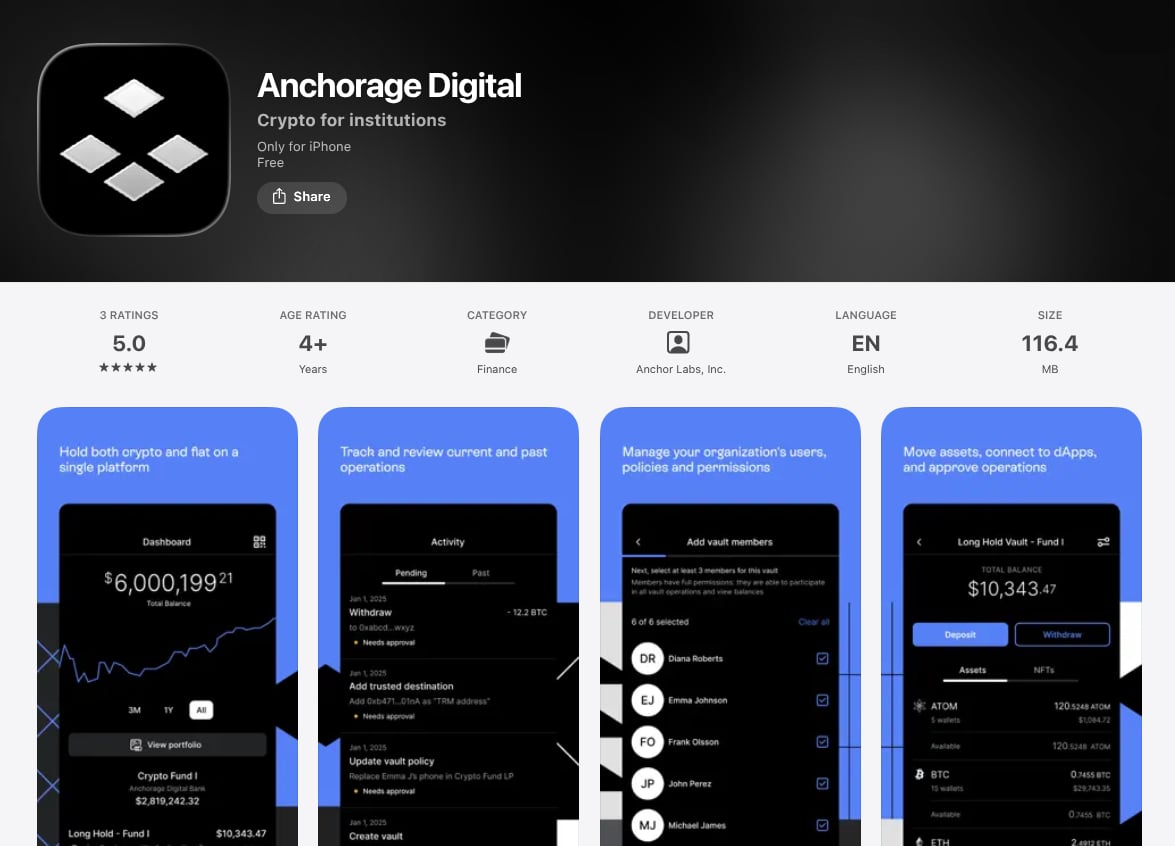
The Anchorage Digital iOS app is available for download on the Apple App Store. The app leverages the iPhone's advanced security features—including the Secure Enclave and biometric authentication—to provide secure, always-available access to your account.

## Downloading the app

You can download and install the Anchorage Digital application directly through Apple's App Store. Search for "Anchorage Digital," open the [Anchorage Digital App Store listing](https://apps.apple.com/us/app/anchorage-digital/id6754656781), or use the link provided by your account executive.

<img src="https://mintcdn.com/deployment-4/pjYpqBNOS3OgTgky/knowledge-base/images/screenshots/app-store.png?fit=max&auto=format&n=pjYpqBNOS3OgTgky&q=85&s=77297e363a0c98915a74c784b8557407" style={{width: "auto", height: "auto"}} alt="Anchorage Digital iOS" width="1175" height="846" data-path="knowledge-base/images/screenshots/app-store.png" />

**Supported iOS devices:**

* iPhone: iPhone SE (2nd gen), iPhone XS, and later models
* iPad: iPad (7th generation), iPad mini (5th generation), iPad Air (3rd generation), and later models

## Migrating from the private app

Users who installed the Anchorage Digital app via a private link before March 2026 may be on the privately distributed version. Existing private apps remain fully functional and provide the same experience as the public App Store version. However, if you need to install the app on a new device, download it directly from the App Store.
<Info>
  If you lose access to any app or need a new install on a new device, download the app directly from Apple's App Store. To replace your device or move your user to a new phone, see [Device and login recovery](/knowledge-base/platform/users/device-login-recovery#replace-a-device-or-move-to-a-new-phone)—if you still have the old device, the transfer is self-serve.
</Info>

### Migration steps

<div style={{ display: "flex", gap: "2rem", alignItems: "flex-start" }}>
  <div style={{ flex: 1 }}>
    <Steps>
      <Step title="Update your current app">
        Open the App Store, navigate to your account, and update the Anchorage Digital app to the latest version.
      </Step>

      <Step title="Verify your app version">
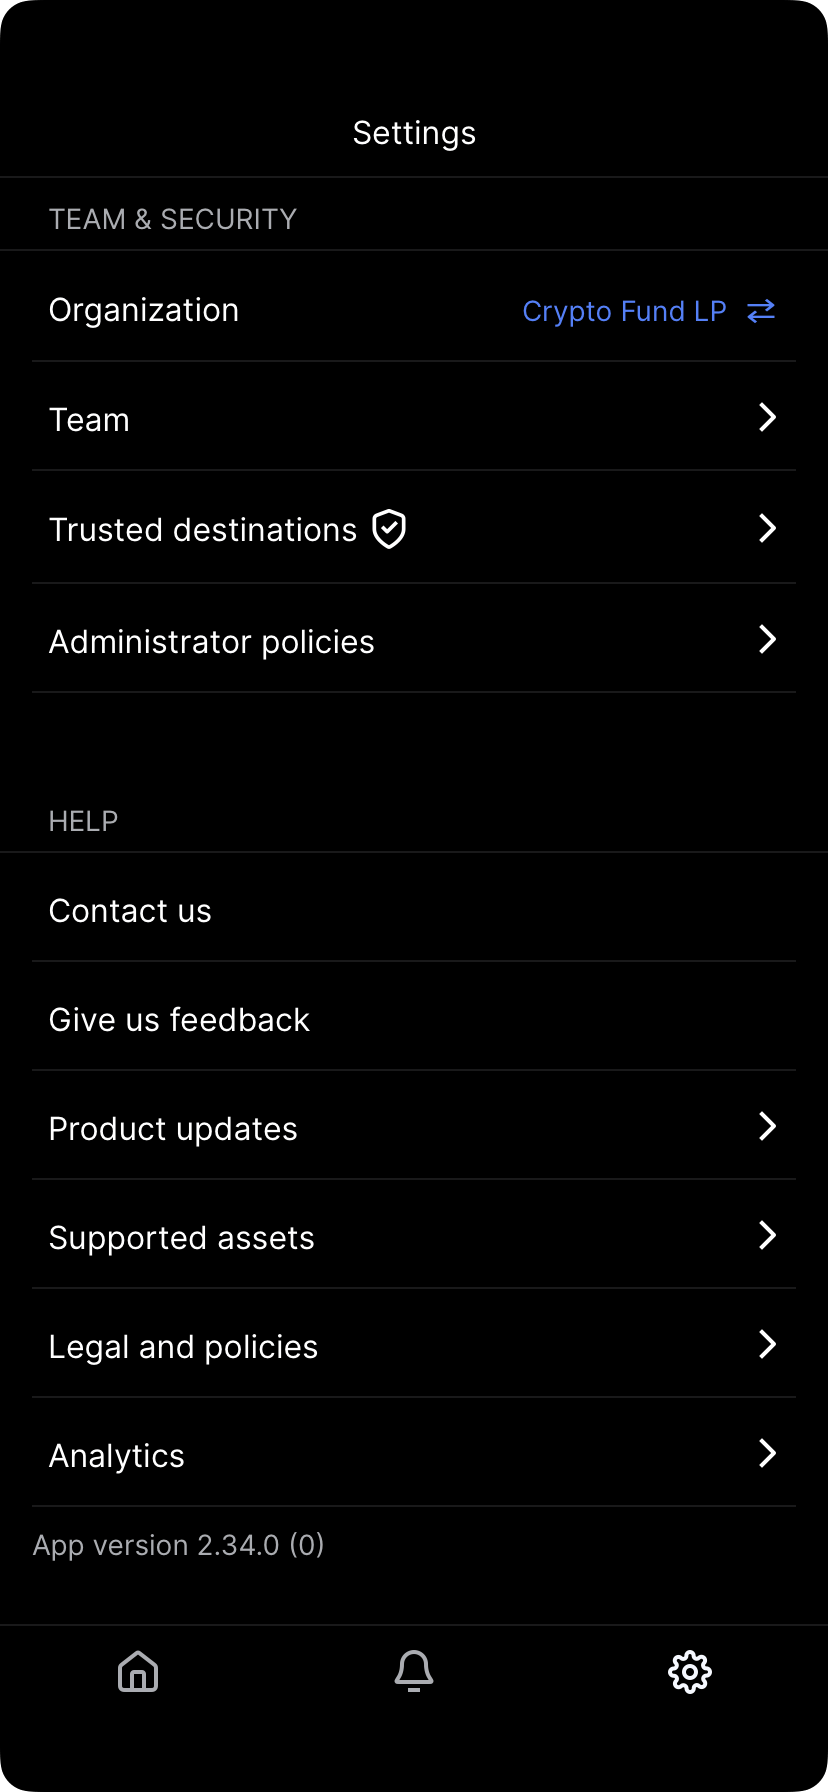
        Open the updated app and go to **Settings**. Ensure your version is **2.106.0 or later**.
      </Step>

      <Step title="Download the public app">
        Download the Anchorage Digital app from the App Store.
      </Step>

      <Step title="Open the public app">
        Open the newly downloaded public app to get started.
      </Step>
    </Steps>
  </div>

  <div style={{ flex: 0.6, minWidth: 0 }}>
    <Frame caption="Verifying app version in Settings">
      <img src="https://mintcdn.com/deployment-4/dnKKK5u4vRePxCW5/knowledge-base/images/screenshots/settings-app-version.png?fit=max&auto=format&n=dnKKK5u4vRePxCW5&q=85&s=8ac1859cea07a1b33a0833a72e5f9388" alt="Settings screen showing the app version number near the bottom" style={{ maxWidth: "100%", height: "auto" }} width="828" height="1792" data-path="knowledge-base/images/screenshots/settings-app-version.png" />
    </Frame>
  </div>
</div>

## Downloading the private app (legacy)

For users in countries where the public App Store listing was not available, the app was previously distributed via Apple Business Manager (ABM).

### App availability by region

For security reasons, the private app was distributed via the B2B app store, Apple Business Manager (ABM), rather than being publicly available.

* **If your organization has an ABM account**: Anchorage Digital can provide guidance on setting up ABM with Apple.
* **If your organization does not have an ABM account**: App redemption codes can be generated by the Anchorage Digital ABM account.

### Downloading in unsupported countries

If your organization does not have an ABM account and your Apple ID is registered outside the United States:

<Steps>
  <Step title="Change your Apple ID region">
    In the App Store, tap the **Profile Icon**, then your **Account Name**. Tap **Country/Region**, then **Change Country or Region**. Select **United States** and use Anchorage Digital's address for billing. This change can be temporary—you may switch back once the app is downloaded.
  </Step>

  <Step title="Download the app">
    Open the download link provided by Anchorage Digital in a Safari browser to initiate the download.
  </Step>

  <Step title="Enable automatic updates">
    Once the download is complete, go to **iPhone Settings**, tap **App Store**, and enable **Automatic Updates**.
  </Step>
</Steps>

<Note>
  Users with Apple IDs linked to Apple subscriptions (e.g., Apple TV) may not be able to change the region. In that case, create a new Apple ID using a different email address.
</Note>

### Creating a new Apple ID (alternative)

If you cannot change your Apple ID region, create a new one:

<Steps>
  <Step title="Sign out of your current Apple ID">
    Go to **Settings**, tap your Apple ID name and avatar, then tap **Sign Out**.
  </Step>

  <Step title="Create a new Apple ID">
    Tap **Don't have an Apple ID or forgot it?**, then **Create Apple ID**. Use an email address different from the one already in use and follow the prompts.
  </Step>

  <Step title="Verify your email">
    Check for a verification email from Apple and verify your new email address.
  </Step>

  <Step title="Download the app">
    Tap the download link on your iPhone to initiate the download.
  </Step>
</Steps>

## Updating the app

By default, most iOS apps are configured to receive automatic updates. To manually update or force an immediate update:

<Steps>
  <Step title="Open the App Store">
    Launch the App Store on your iPhone.
  </Step>

  <Step title="Access your account">
    Tap your profile icon (avatar) in the top-right corner of the screen.
  </Step>

  <Step title="Navigate to apps">
    Tap **Apps** to see a list of your applications.
  </Step>

  <Step title="Check for updates">
    Scroll down to find the Anchorage Digital app. If an update is available, an **Update** button will appear next to the app name.
  </Step>

  <Step title="Install the update">
    Tap **Update** to begin the download.
  </Step>
</Steps>

<Warning>
  If you are updating your app in preparation for the public app release, open the Anchorage Digital app immediately after the update finishes.
</Warning>