

You’re viewing Porto developer documentation — a distinct product from Anchorage Digital’s core custody platform. Go to Anchorage Digital docs →
What you can do where
Sending to your own org’s addresses
You can allowlist addresses that belong to your own organization as trusted destinations to tag and label critical internal addresses. This is purely a convenience for recognition — it isn’t required for internal movement. If your concern is avoiding per-transaction quorum when moving assets between your own wallets, use the internal transfer API instead. Internal transfers set bothsource.type and destination.type to WALLET and don’t require a trusted destination or allowlisting.
Create a trusted destination via API
Requires theManage Trusted Destinations permission. Adding a trusted destination requires quorum approval.
isNetworkLevel: true to let the destination receive any asset on that network (digital assets only).
Connect a trusted destination to an API key
If you’re using the Transfers API to transfer to a trusted destination, you need to configure your API key’s permission group to allow it. There are two options, set when configuring the Transfers outside Anchorage permission on your API key.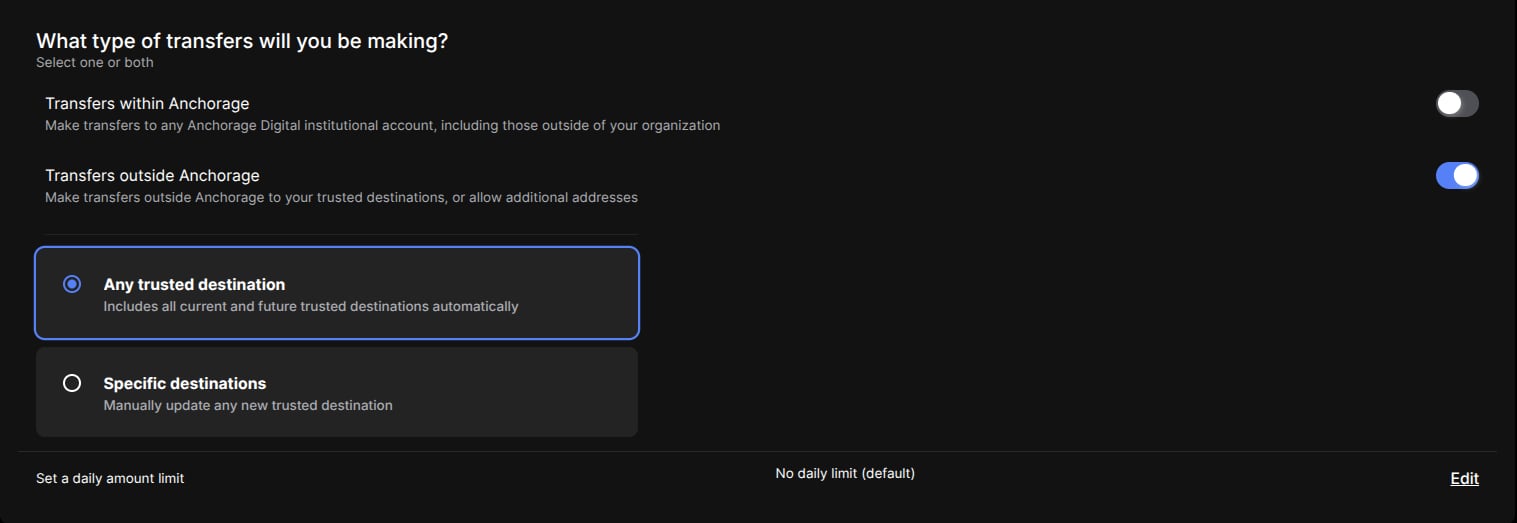
API key transfer configuration showing the trusted destination options