

You’re viewing Porto documentation — a distinct product from Anchorage Digital’s core custody platform. Go to Anchorage Digital docs →
What is a vault
A vault is:- An asset container — Holds one or more wallets for different digital assets
- A policy boundary — Each vault has its own governance rules and approval requirements
- A security perimeter — Only authorized users can access vaults and initiate operations
- An audit unit — All vault activity is logged and traceable
Vault types
Vaults can be configured for different purposes:- Treasury vault — For storing your main digital asset reserves
- Trading vault — For frequent swaps and conversions (if enabled)
- Settlement vault — For specific counterparty transactions
- Custody vault — For assets held on behalf of clients
Create a vault
1
Open vaults list
From the home screen, tap Vaults.
2
Tap create new vault
Select the Create new vault or + button.
3
Enter vault details
Provide:
- Vault name — A descriptive name (e.g., “Treasury Reserves”)
- Description — Optional notes about the vault’s purpose
- Select account — Choose which account this vault belongs to
4
Choose a vault policy
Select an existing vault policy or create a new one. The policy defines approval requirements for operations in this vault.
5
Configure initial users
Specify which team members have access to the vault and their roles (Admin, Operator, or View-only).
6
Review and submit
Verify all details, then tap Submit for approval.
7
Approve (if required)
If you have permissions, complete biometric authentication to authorize vault creation.
Vault creation typically requires admin approval and Anchorage Digital review before the vault becomes active.
View vault details
1
Select the vault
From the home screen, tap the vault you want to view.
2
View assets
You’ll see all assets and wallets in the vault with current balances.
3
View settings
Tap the vault name or settings icon to see vault details, users, and policies.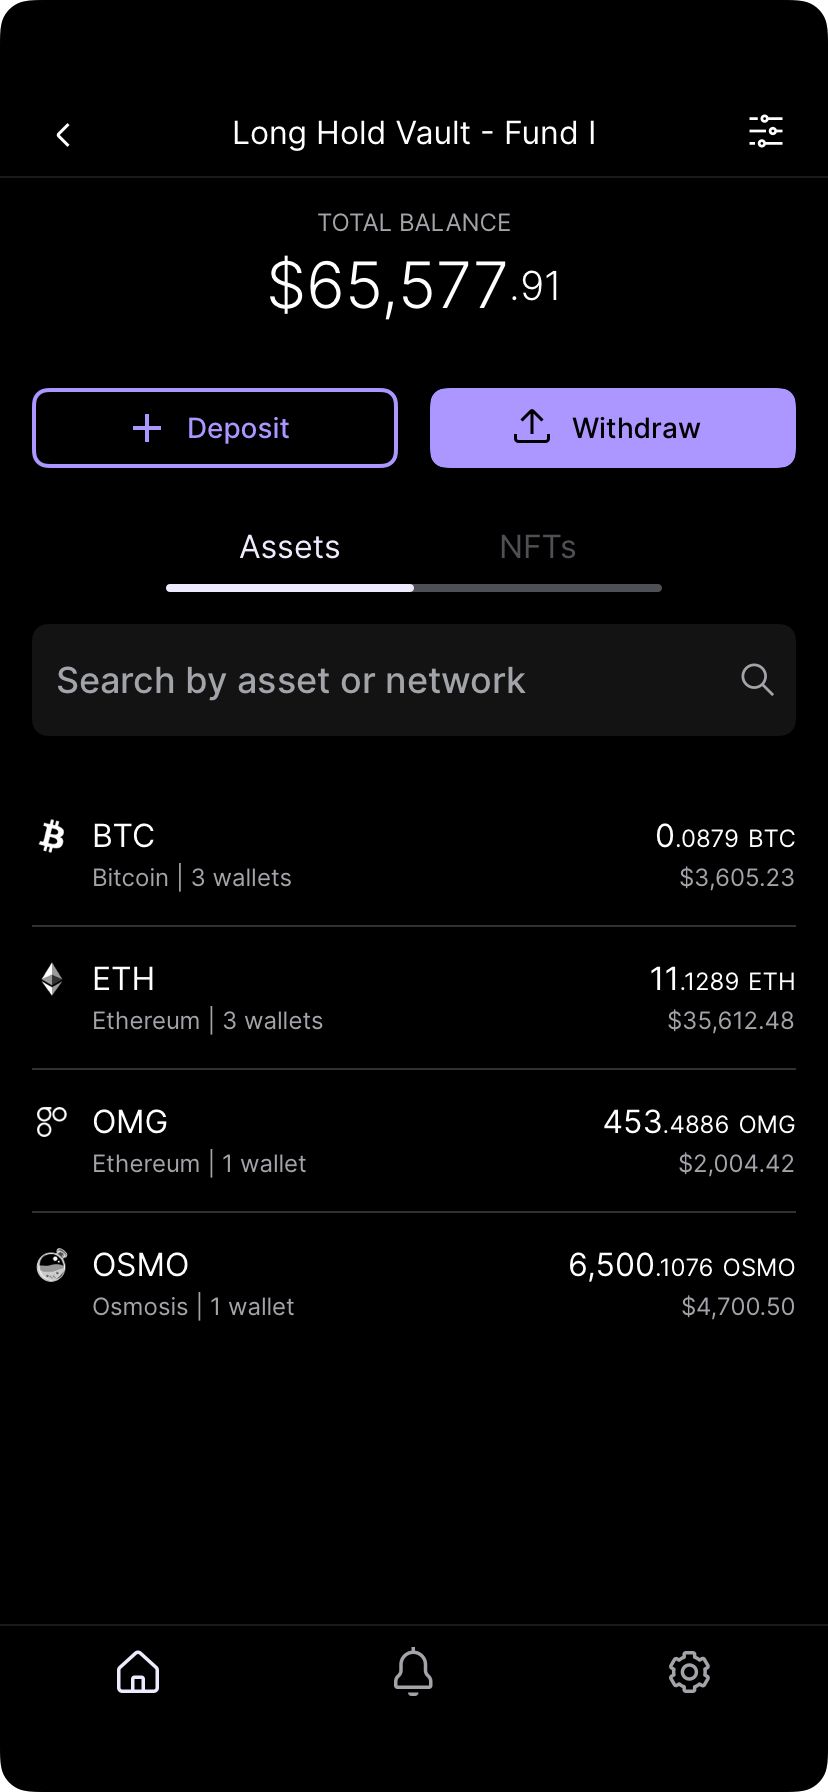
Vault settings icon location
Rename or edit vault details
1
Open vault settings
From the vault screen, tap the Settings icon or vault name.
2
Edit vault details
Tap Edit next to the vault name or description.
3
Make changes
Update the name or description.
4
Submit for approval
Tap Save. Changes require approval based on your vault’s policies.
5
Approve if authorized
Complete biometric authentication to confirm the change.
Add users to a vault
1
Open vault settings
Tap the vault name, then Settings.
2
Select users
Tap Users or Team.
3
Add a user
Tap Add user and select a team member from your organization.
4
Set their role
Assign a role: Admin, Operator, or View-only (see role definitions below).
5
Submit for approval
Tap Submit. Adding users requires approval based on your policies.
6
Approve if authorized
Complete biometric authentication to authorize the addition.
Vault roles
Porto has three permission levels — the same model described in What is Porto? and Permission levels:Vault policies
Policies define approval requirements for operations in a vault:- Admin policy — Rules that apply to user management and settings changes
- Vault policy — Rules that apply to asset transfers and operations
- Quorum requirements — Who must approve and how many signatures are needed
Remove a user from a vault
1
Open vault settings
Tap the vault name, then Settings > Users.
2
Select the user
Tap the user you want to remove.
3
Tap remove
Select Remove user.
4
Submit for approval
Confirm the removal. This requires approval based on your policies.
5
Approve if authorized
Complete biometric authentication to confirm removal.
Removing a user doesn’t delete their historical activity. All past transactions and approvals remain in the audit trail.
Archive or delete a vault
Vaults can only be archived or deleted by administrators. Contact your organization’s admin team if you need to deprecate a vault. Archived vaults:- Cannot accept new operations
- Remain in your history for audit purposes
- Can be accessed for viewing past activity